Tips & Tricks: Processing APO/FPO/DPO Labels
Military address (APO/FPO) labels can only be printed using the United States Postal Service (USPS) and its partners (Endicia, Express1, and Stamps.com). For USPS restrictions and guidelines regarding shipments to military addresses, see here.
In ShipWorks, APO / FPO addresses should be printed as standard (not thermal) labels. To ensure your printing set up can properly process and print APO/FPO labels, you should: (1) check your printing rules, (2) verify your template is configured correctly, and (3) properly format your shipping address, and (4) print your label.
Step 1: Verify your labels are downloading in the right format and check printing rules
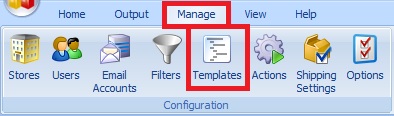
1. In ShipWoks, go to Manager>Shipping Settings.
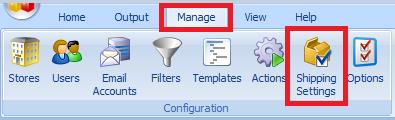
2. On the left-side menu, select your postage provider. In this example, we’ve selected USPS (Endicia).
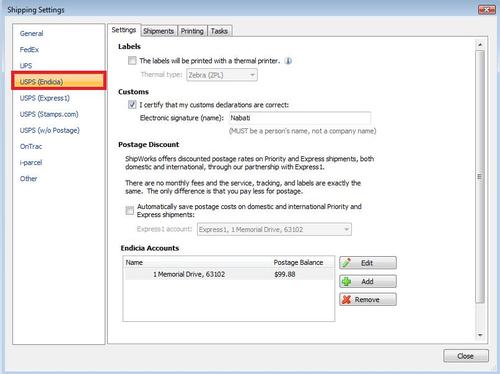
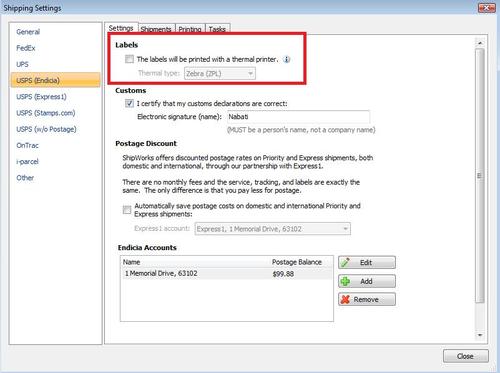
3. Make sure that the box next to “The labels will be printed with a thermal printer” is NOT selected.
4. Navigate to the “Printing” tab, and verify that your printing rules match the following example:
If the shipment is Thermal, print with Thermal.
Otherwise, Always print with Standard.
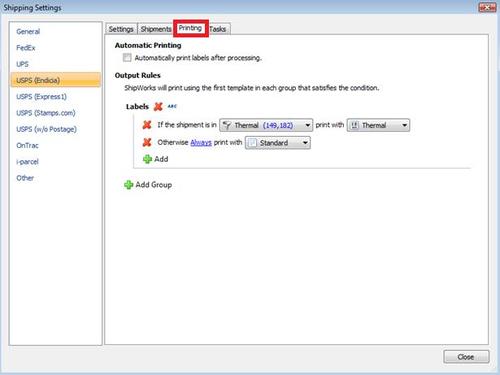
Please note: Even if you do not have a thermal printer connected, these rules/filters will ensure that everything connects to your standard printer correctly. It is best to leave them as-is.
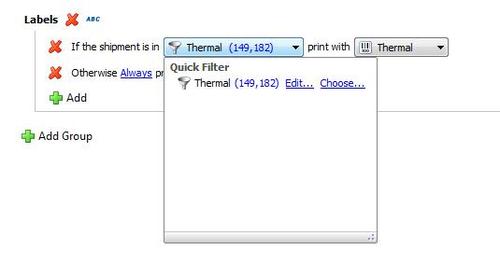
5. From the (first) drop-down menu, click “Thermal” and select “Edit”.
6. Verify that your “Thermal” filter’s conditions match the example below (Example 1.7). Change to reflect the following (if necessary):
If All of the following conditions are met:
Label Format Equals Thermal (Any)
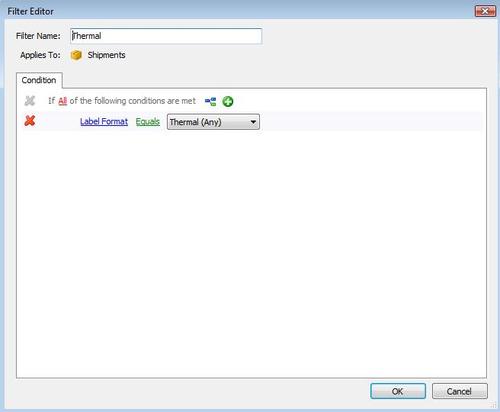
7. Click “OK” to save changes and click “Close”.
Step 2: Connecting Your New Printer to Your Templates
Now that your labels are downloaded in the correct format and your shipping rules are configured correctly, you need to connect your template (the document that controls the format of your labels, invoices, and packing slips) to the correct printer.
Connecting Your Printer to Print Standard Labels (including APO/FPO/DPO):
1. In ShipWorks, go to Manage > Templates.
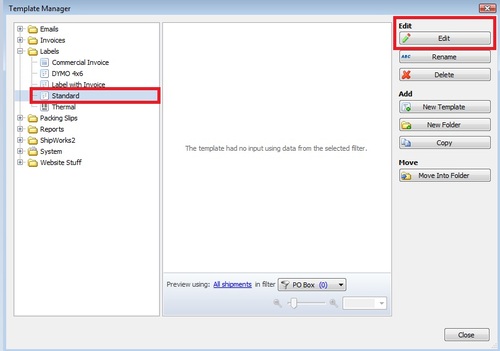
2 Expand (+) the “Labels” folder.
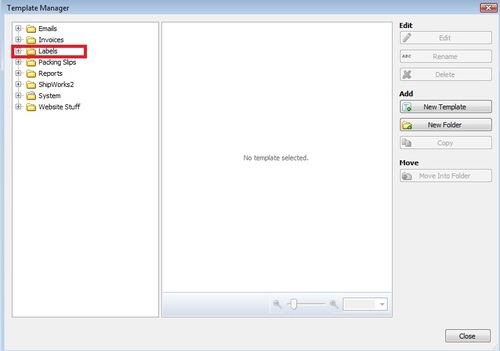
3. Select the “Standard” template and click “Edit”.
4. On the “Settings” tab, select “Printing” from the left-side menu.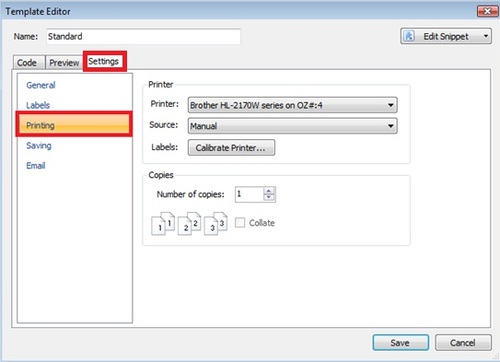
5. Select your standard printer (laser, inkjet) from the drop-down menu. (In this example, we’ve selected the HP Officejet Pro 8500. Your printer model may be different.)
6. On the “Settings” tab, click “General” from the left-side menu. Make sure “Template type” is set to “Label”.
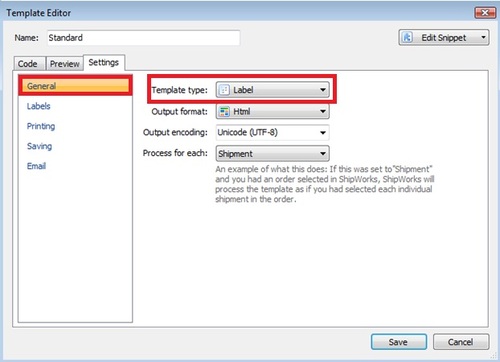
7. Click “Save” and click “Close”.
Step 3: Processing an APO/FPO/DPO Order
After setting up your printing rules and printer, you’re now ready to process a military (APO/FPO/DPO) shipment.
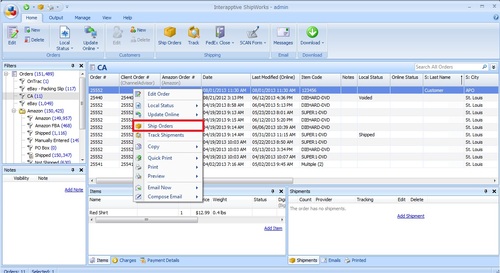
1. Right-click your order and select “Ship Orders” (or go to Home > Ship Orders).
2. Select your USPS shipping provider from the drop-down menu.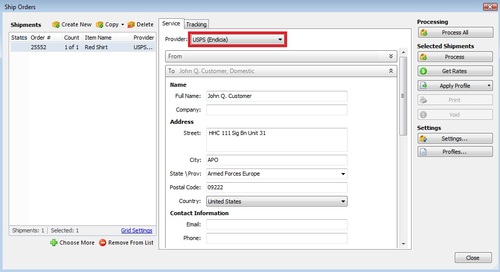
3. Expand the “To” section by clicking the down arrows (), if necessary. APO / FPO / DPO orders need to be processed as a domestic shipment. Complete the fields by inputting the information below:
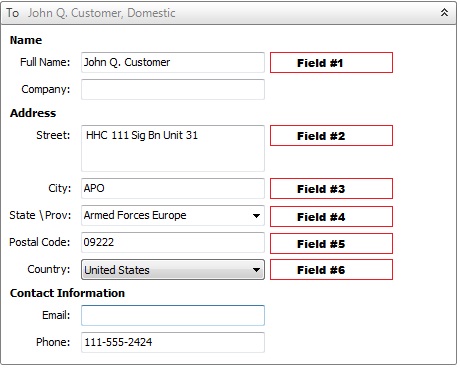
Field #1: Enter the recipient’s name.
Field #2: Enter the recipient’s address.
Field #3: Enter APO, FPO, or DPO as the city.
Field #4: From the drop-down menu, select Armed Forces America, Armed Forces Europe, or Armed Forces Pacific.
Field #5: Enter the postal code of the destination (even if it is an international postal code).
Field #6: From the drop-down menu, select United States.
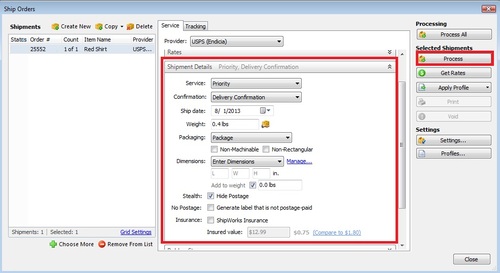
4. Modify any other shipment details and process the shipment as normal.
5. Once your shipment is successfully processed, your label should automatically print if you have enabled this as an option.
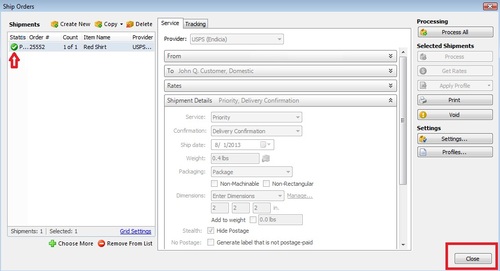
6. Click “Close”.
Step 4: Previewing and Printing Your Label
If you don’t have an action set up to automatically print your label, you will need to follow these instructions to preview and print.
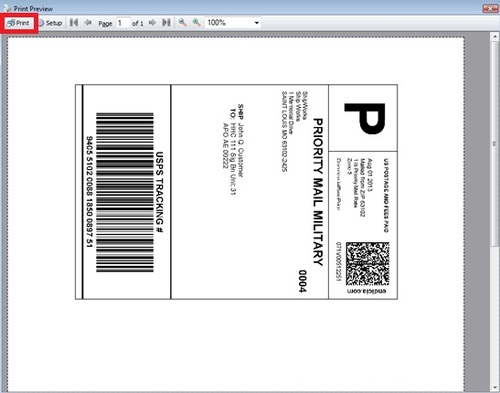
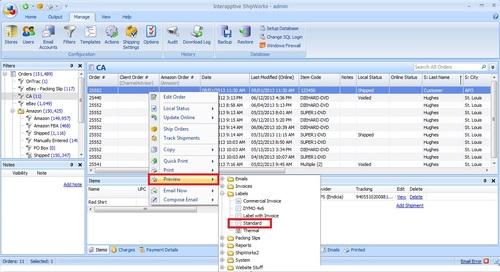
1. From the “Main Order Grid” window, right-click your processed order and select Preview > Labels > Standard.
2. Your APO/FPO/DPO label should be displayed like the one below. Click “Print” to manually print your label.