Tutorial: Configuring a Zebra Printer in Shipworks
Step 1: Verify That The Printer Can Generate a Windows Test Print Page
- In Windows 7 or Windows Vista click the Windows Orb and select Devices and Printers.
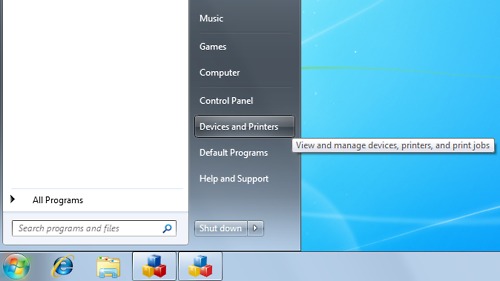
- Right-Click on your printer and select Printer Properties.
- Click Print Test page and ensure that a Windows test print is generated. If not, you will need to reinstall your Zebra printer.
Step 2: Set Shipworks to Download Thermal Labels
- Click on Manage->Shipping Settings
- Select the Shipping Carrier You Want to Configure
- On the Settings Tab, under Labels, Click the Thermal Checkbox
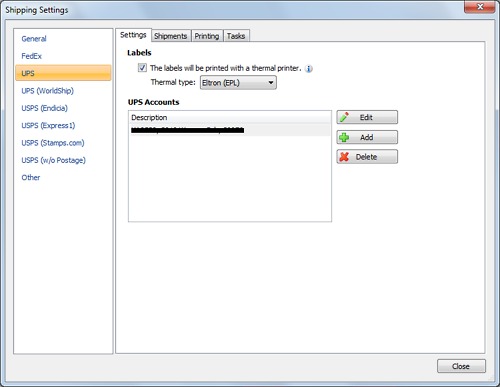
- Set the Format Type based on your printer
- EPL – LP2844, ZP450, ZP500, ZM400
- ZPL – ZP450, ZP500, ZM400
- If your printer is not listed, attempt to download ZPL
Step 3: Configure Automatic Printing and Output Rules
- Click on the Printing tab
- Check the Automatic Printing Checkbox to enable Automatic Printing
- In the Output Rules area, under Labels, Make sure that these two rules are present:
- “If the shipment is in Thermal print with Thermal”
- “Otherwise Always print with Standard”
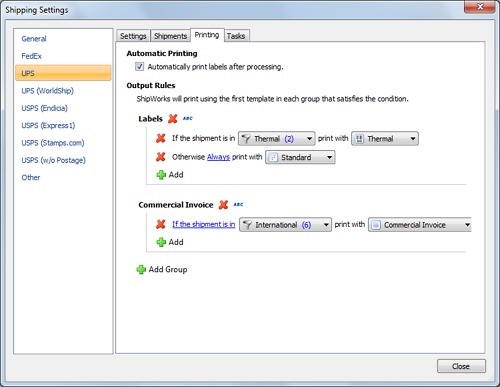
- Click the thermal drop-down that has the Zebra icon and click on Manage Templates.
- Make sure the Thermal Label is selected, and click Edit.
- On the Settings tab, under printing, make sure that your printer is selected.
Your thermal printer is now configured. To test this configuration, process an order and verify the output.